
In this tutorial im going to learn how to upload profile image of user in Laravel. Please follow some easy steps define below.
First let’s go to install laravel project
composer create-project laravel/laravel admin-dashboardAfter Installation setup database So go to the .env file and add the database credentials. lets go to .env folder and put database name and connect to database.
DB_CONNECTION=mysql
DB_HOST=127.0.0.1
DB_PORT=3306
DB_DATABASE=update_profile
DB_USERNAME=root
DB_PASSWORD=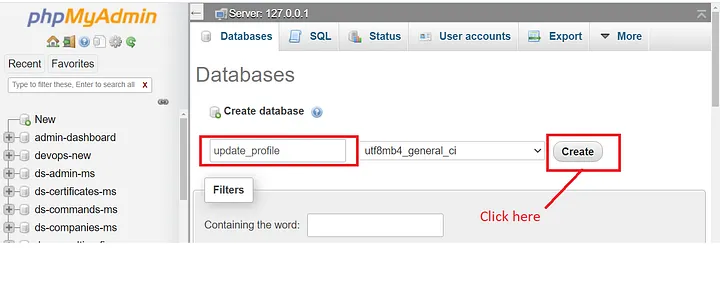
Now migrate the table
php artisan migrate
Create the user authentication scaffolding and write down this command:-
php artisan make:authNext to add image column with default value into database/migrations/create_users_table.php
$table->string('image')->default('user.png');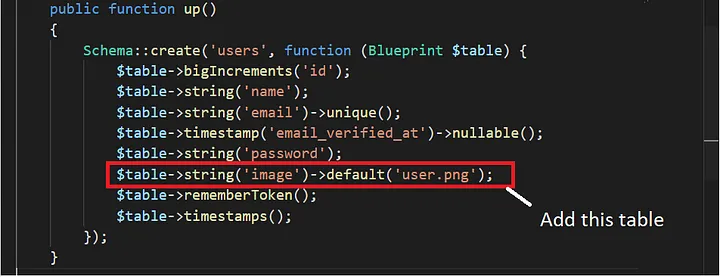
Now migrate the table
php artisan migrate:refresh
Link the storage directory. Write the following command:-
php artisan storage:link

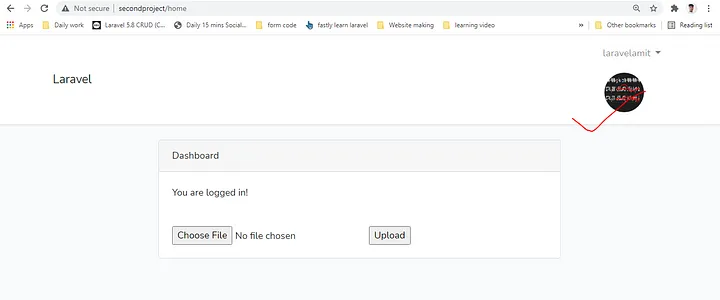
Go to resources/views/home.blade.php file, and paste below code
@extends('layouts.app')

@section('content')
<div class="container">
    <div class="row justify-content-center">
        <div class="col-md-8">
            <div class="card">
                <div class="card-header">Dashboard</div>

                <div class="card-body">
                    @if (session('status'))
                        <div class="alert alert-success" role="alert">
                            {{ session('status') }}
                        </div>
                    @endif

                    You are logged in!
                </div>
                <div class="card-body">
                    <form action="{{route('home')}}" method="POST" enctype="multipart/form-data">
                        @csrf
                        <input type="file" name="image">
                        <input type="submit" value="Upload">
                    </form>
                </div>
            </div>
        </div>
    </div>
</div>
@endsection
Next go to User.php file and paste below code :-
protected $fillable = [
        'name', 'email', 'password','image',
    ];
Next go to layouts/app.blade.php file and paste below code:-
@if(Auth::user()->image)
<img class="image rounded-circle" src="{{asset('/storage/images/'.Auth::user()->image)}}" alt="profile_image" style="width: 80px;height: 80px; padding: 10px; margin: 0px; ">
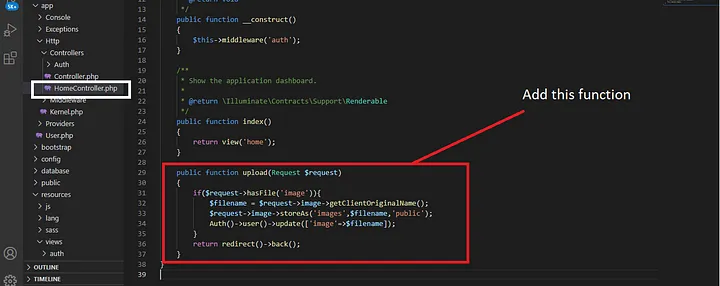
@endifNext go to app/Http/Controllers/HomeController.php file
<?php

namespace App\Http\Controllers;

use Illuminate\Http\Request;

class HomeController extends Controller
{
    /**
     * Create a new controller instance.
     *
     * @return void
     */
    public function __construct()
    {
        $this->middleware('auth');
    }

    /**
     * Show the application dashboard.
     *
     * @return \Illuminate\Contracts\Support\Renderable
     */
    public function index()
    {
        return view('home');
    }

    public function upload(Request $request)
    {
        if($request->hasFile('image')){
            $filename = $request->image->getClientOriginalName();
            $request->image->storeAs('images',$filename,'public');
            Auth()->user()->update(['image'=>$filename]);
        }
        return redirect()->back();
    }
}
Next go to routes/web.php file and define the route.
Route::post('/home','HomeController@upload');
And use below classed in web.php file
use Illuminate\Support\Facades\Input;
use Illuminate\Support\Facades\Routes;
use App\User;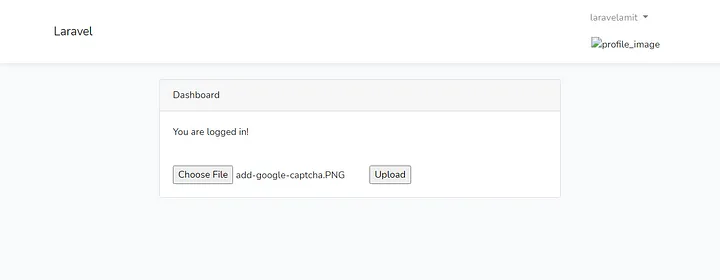
Now profile image saved successfully 🙏🙏