In this tutorial im going to learn how to upload multi image in laravel in easy steps so follow these tutorials.
1st step create model and migration as like below command
php artisan make:model Multipic -m

Next go to your migration file
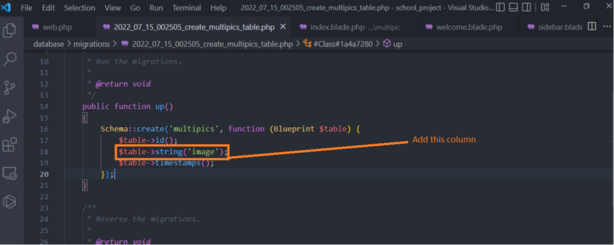
Next go to your model
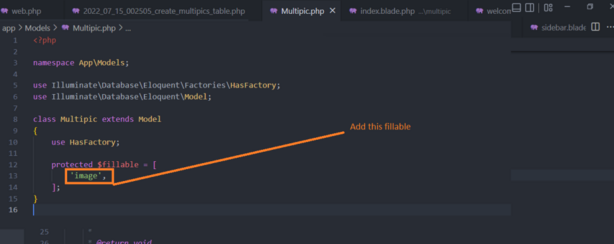
Now migrate the table
php artisan migrate

Next to create route
Route::get('/multi/image', [BrandController::class,'Multipic'])->name('multi.image');
Route::post('/multi/add', [BrandController::class,'StoreImg'])->name('store.image');
Next to create controller file
php artisan make:controller BrandController
Next to create 2 function as define below
public function MultiPic()
    {
        $images = Multipic::all();
        return view('admin.multipic.index', compact('images'));
    }
    public function StoreImg(Request $request)
    {
        $image = $request->file('image');
        foreach ($image as $multi_img) {
            $name_gen = hexdec(uniqid());
            $img_ext = strtolower($multi_img->getClientOriginalExtension());
            $img_name = $name_gen . '.' . $img_ext;
            $up_location = 'images/multi/';
            $last_img = $up_location . $img_name;
            $multi_img->move($up_location, $img_name);
            Multipic::insert([

                'image' => $last_img,
                'created_at' => Carbon::now(),

            ]);
        } // end foreach
        return back()->with('success', 'images stored successfully');
    }
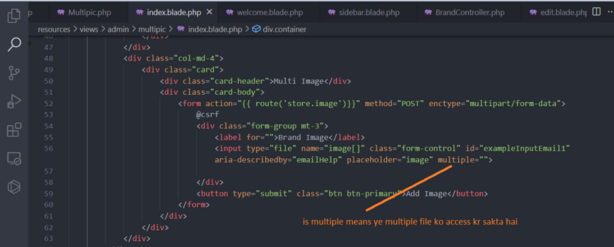
Next go to view page and put form function only
<form action="{{ route('store.image')}}" method="POST" enctype="multipart/form-data">
                            @csrf
                            <div class="form-group mt-3">
                                <label for="">Brand Image</label>
                                <input type="file" name="image[]" class="form-control" id="exampleInputEmail1" aria-describedby="emailHelp" placeholder="image" multiple="">

                            </div>
                            <button type="submit" class="btn btn-primary">Add Image</button>
                        </form>
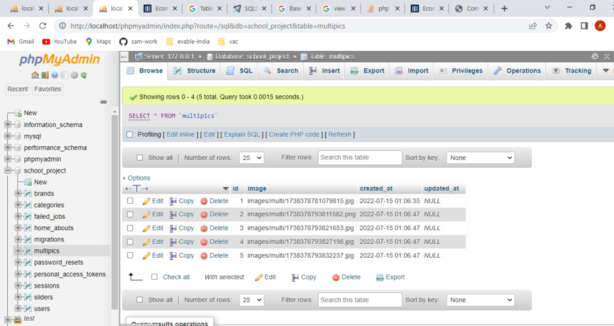
Next go to your view page where you want to show the output
<div class="card-group">
                @foreach ($images as $multi)
                <div class="col-md-4 mt-5">
                    <div class="card">
                        <img src="{{ asset($multi->image)}}" alt="">
                    </div>
                </div>
                @endforeach
            </div>
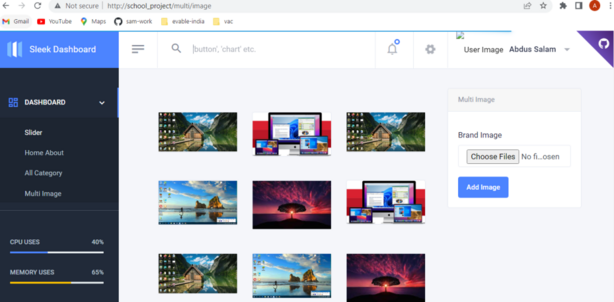
Now working successfully. 👍👍
[…] How to upload Multi Image in Laravel 9 ? […]