In this tutorial I’m going to learn how to install docker on windows . Follow this tutorial i have to install docker on windows in very easy way.
1st step
Go to this URL :- https://docs.docker.com/desktop/install/windows-install/

System requirements
Hyper-V backend and Windows containers
Windows 11 64-bit: Pro version 21H2 or higher, or Enterprise or Education version 21H2 or higher.
Windows 10 64-bit: Pro 21H2 (build 19044) or higher, or Enterprise or Education 21H2 (build 19044) or higher.
For Windows 10 and Windows 11 Home, see the system requirements in the WSL 2 backend tab.
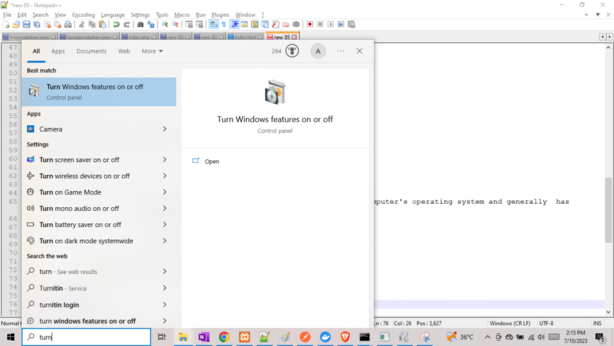
Hyper-V and Containers Windows features must be enabled.
The following hardware prerequisites are required to successfully run Client Hyper-V on Windows 10:
64 bit processor with Second Level Address Translation (SLAT)
4GB system RAM
BIOS-level hardware virtualization support must be enabled in the BIOS settings. For more information, see Virtualization.
Install Docker Desktop on Windows ?
Next step go to download section and run downloaded file.

Next go to open


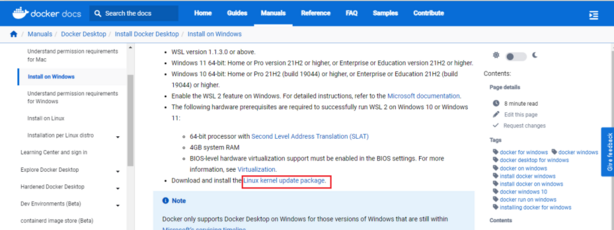
Next to install Linux


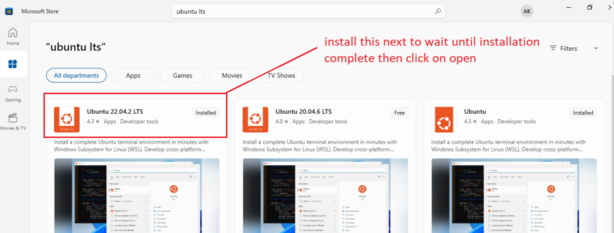
Next install downloaded file then go to Microsoft store and download ubuntu
Next click on ok
Next go to Microsoft store and search ubuntu tls

Next to open ubuntu and when you open first time its ask you put username and passoword put correctly then run below command
Pwd
Then open windowsPowerShell
wsl -l -vTo check running background distribution version and states

2nd step click on run as administrator

After installation Start Docker Desktop


Next to open docker


Click on accept button

Next to signin docker account
Then open wsl and run below command
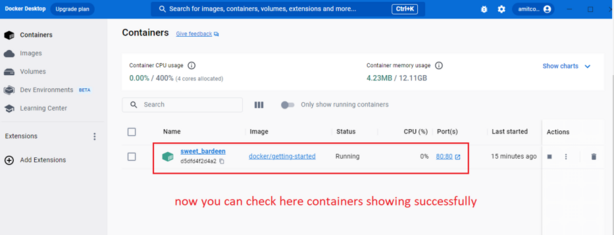
docker run -d -p 80:80 docker/getting-started
Now its showing in containers and images sidebar also.

All done !!
If you want to run project then run below code
docker run -p 8080:80 httpd
Run this in your browser
http://localhost:8080/

Thanks for reading

 Starting: 1st of Every Month
  +91 8409492687 |
  Contact@DevOpsSchool.com